
SIMMER RECIPE
 1hrs 40mins
 easy
easy
 Servings: 4
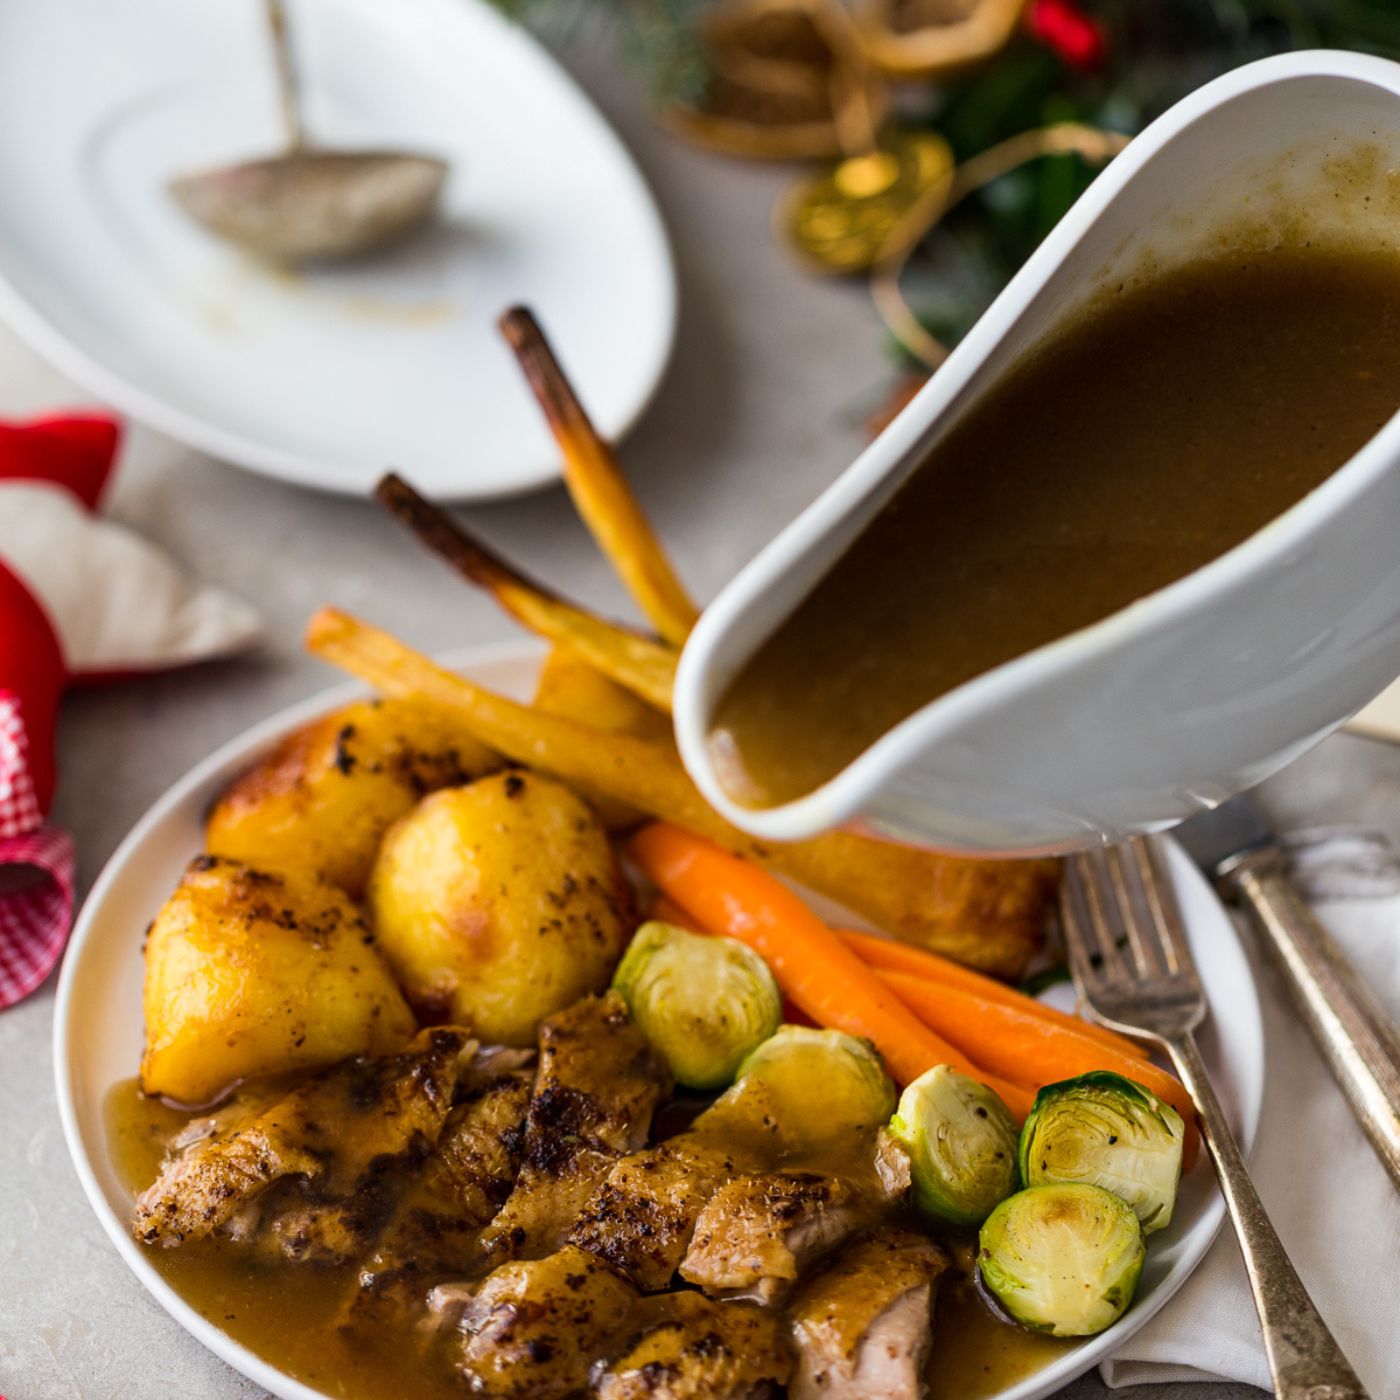
Homemade Gravy for Any Roast
Ingredients
- 170ml filtered water
- 2 small red onions
- 1 white onion
- 2 stalks celery
- 2 carrots
- 1 Sprig rosemary
- 1 Sprig thyme
- 1 tsp sea salt
- 1 tsp ground black pepper
- 1/2 tsp ground cloves
- 25g chicken, goose, duck, beef or lamb fat
- 1 Roasting meat
- 1 tbsp cornflour (optional)
- 1 glug of organic wine (optional)
- 1 tsp English mustard (optional)
- 324g (1 pouch) Borough Broth Organic Chicken Bone Broth
Instructions
- Turn the oven on at 200°C (fan) 220°C degrees
- Wash veg in cold water and chop up nice and chunky, don't bother peeling unless any veg is non-organic.
- Lay the vegetables on the base of a large metallic/enamel oven tray. It needs to be able to go on the hob as well as in the oven. Make sure the veg is not piled on top of each other, so leave veg out if it's overcrowded. Spread the fat over the pan and vegetables. If it's a solid fat just scatter it around in small lumps, but don't worry too much – you'll stir it up once it's melted.
- Evenly spread the rosemary and thyme under the veg so it doesn't immediately catch and burn at the top. Season well with salt and pepper.
- Finally, place the (pre-seasoned) meat on top of the vegetables and place the pan in the middle of the oven. After 15 minutes take the pan out of the oven and drop the temperature to 180°C (fan) 200°C (electric) Lift out the meat and stir everything up so the fat is evenly distributed. You're looking for some charring on the edges of the veg and ideally some caramelisation.
- Place the meat back on top and put it back in the oven for an additional 30–60 minutes.
- Keep an eye on the meat and the pan. If the meat is done before the vegetables are suitably browned, take the meat out and put the pan back in the oven.
- If the vegetables are done before the meat, then transfer the meat to another pan and continue to cook. You want browned vegetables – dark gooey bits are the dream. When the onions stick to the pan like black treacle, it's done.
- Place the pan on a hob at a medium heat
- Splash in a glug of red wine and cook it down.
- Pour in the pouch of bone broth and add 170ml water. The key here is to keep scraping the brown bits off the sides and bottom of the pan. The hot liquid will help budge most of the brown bits, but it takes some elbow grease. You can use Chicken bone broth for white meat or Beef/Lamb broth for red meats.
- Now use a potato masher to gently press down on all the vegetables – this is to squeeze out the vegetable juices into the liquid. Be careful not to actually mash everything as you're not making a soup!
- Season with salt, pepper and the ground cloves, and stir in a teaspoon of English mustard (gluten-free) if desired. Turn the temperature down to a medium simmer.
- *If you like a thickened gravy (traditional) then follow this step: Add a tablespoon of cornflour to a cup and stir in around 100ml filtered water. Stir this up until it makes a very liquid white paste. Pour around half of this in, if you like it even thicker add a little more and slowly allow the gravy to cook down for around 10 minutes. It will thicken up as it simmers. Remember you can always add but you can't take away! If it does get too thick you can always loosen with a bit of water or ideally more broth so you're not losing flavour.
- Once ready to serve, pour the gravy through a sieve into a suitable vessel. Then use a spatula and press down on the veg in the sieve to get the final juices out. (Don't underestimate this step, it's normally the bit that adds the most flavour so take your time.)
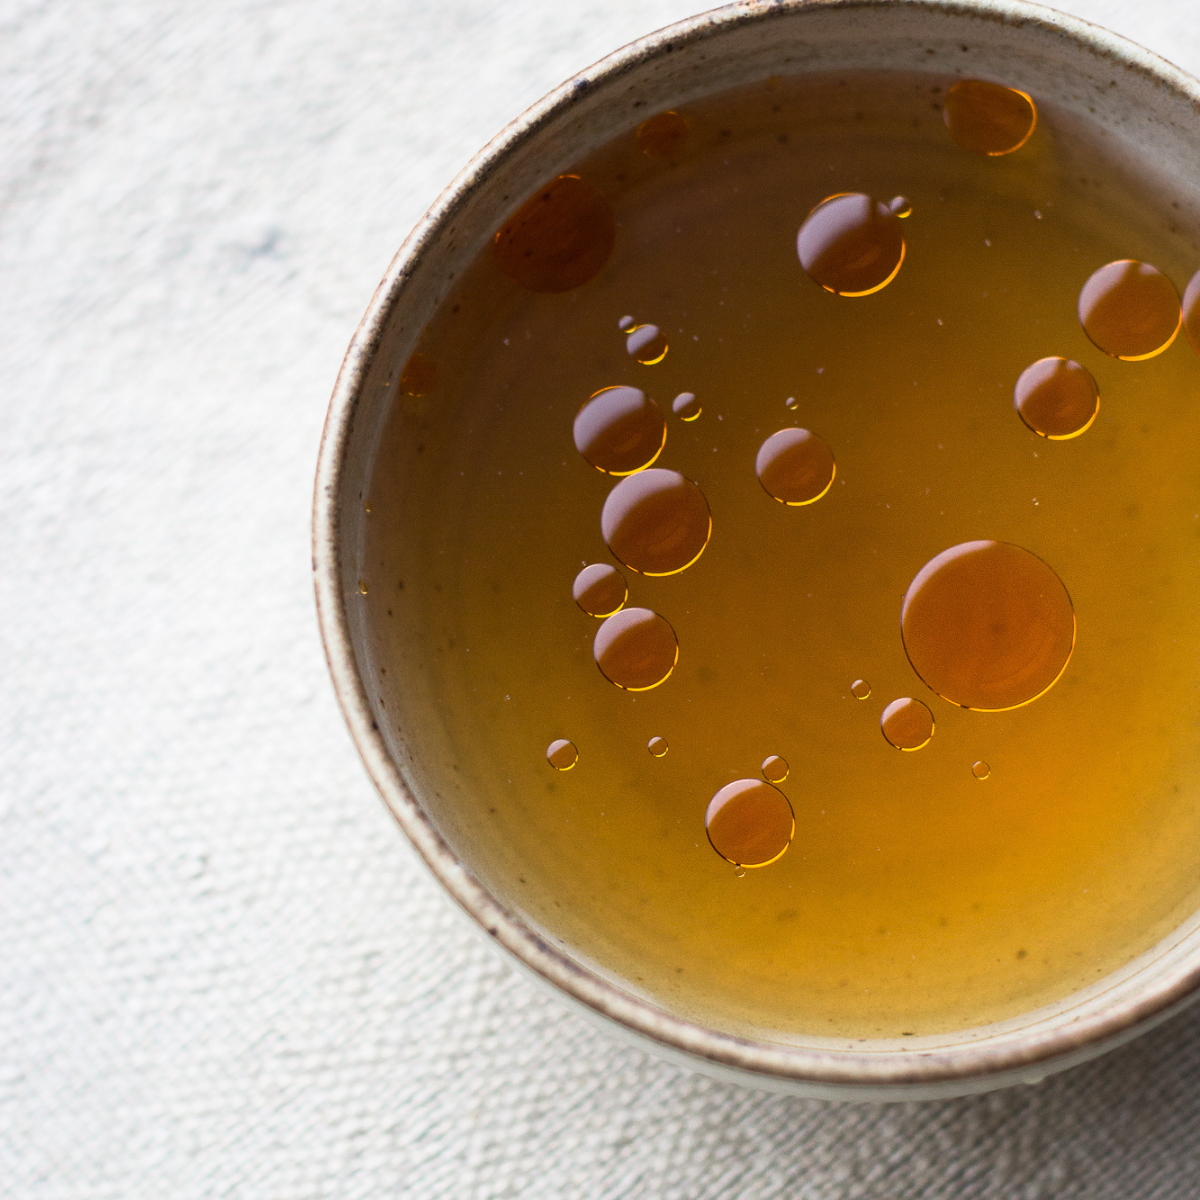
- You'll now have a beautifully rich meaty gravy. There will be a layer of fat on top. You can: 1. Use a special gravy jug that pours from the bottom of the jug, so the fat is left off. 2. Use a spoon to siphon off the top layer of fat. Be careful only to take off the transparent liquid as the dark stuff is the good stuff. Or 3. Fold up some paper towels and gently place them on top of the gravy. This soaks up all the fat from the top. Repeat until you're happy with what's left
- Any leftover gravy should keep in the fridge for around 5 days. Reheat on the hob, not in a microwave.


